
Winged eye liner is one of the hardest things (I personally think) to tackle when doing your makeup. I don't even think I'm that great at it to be honest - I ALWAYS end up having to fix and clean with makeup remover and concealer... My winged liner looks different every time that I do it, so don't let it stress you out!
After testing out a bunch of products and tools, I have found that gel liner is the least messy option and an angled brush is WAY easier to get straight smooth lines. My favourites are the Maybelline Black Gel Liner and the Zoeva Wing Liner Brush.


Both are affordable - the gel liner is pitch black and matte whilst the brush is super thin, perfect combo!
STEP ONE
Take your angled brush and place the higher tip of the brush a tiny bit under your lash line, so the lower tip is aimed towards your brow. With the excess gel liner wiped off onto the back of the hand, extend a thin line up from your lashes towards your brow. The lighter the pressure, the thinner the line!
STEP TWO

Now switch your brush the other way round, so the higher tip is towards the brow and the lower tip is towards the lashes. From the middle of the line just drawn, bring the liner down onto the outer third of your eyelid, so you're left with a triangle gap.
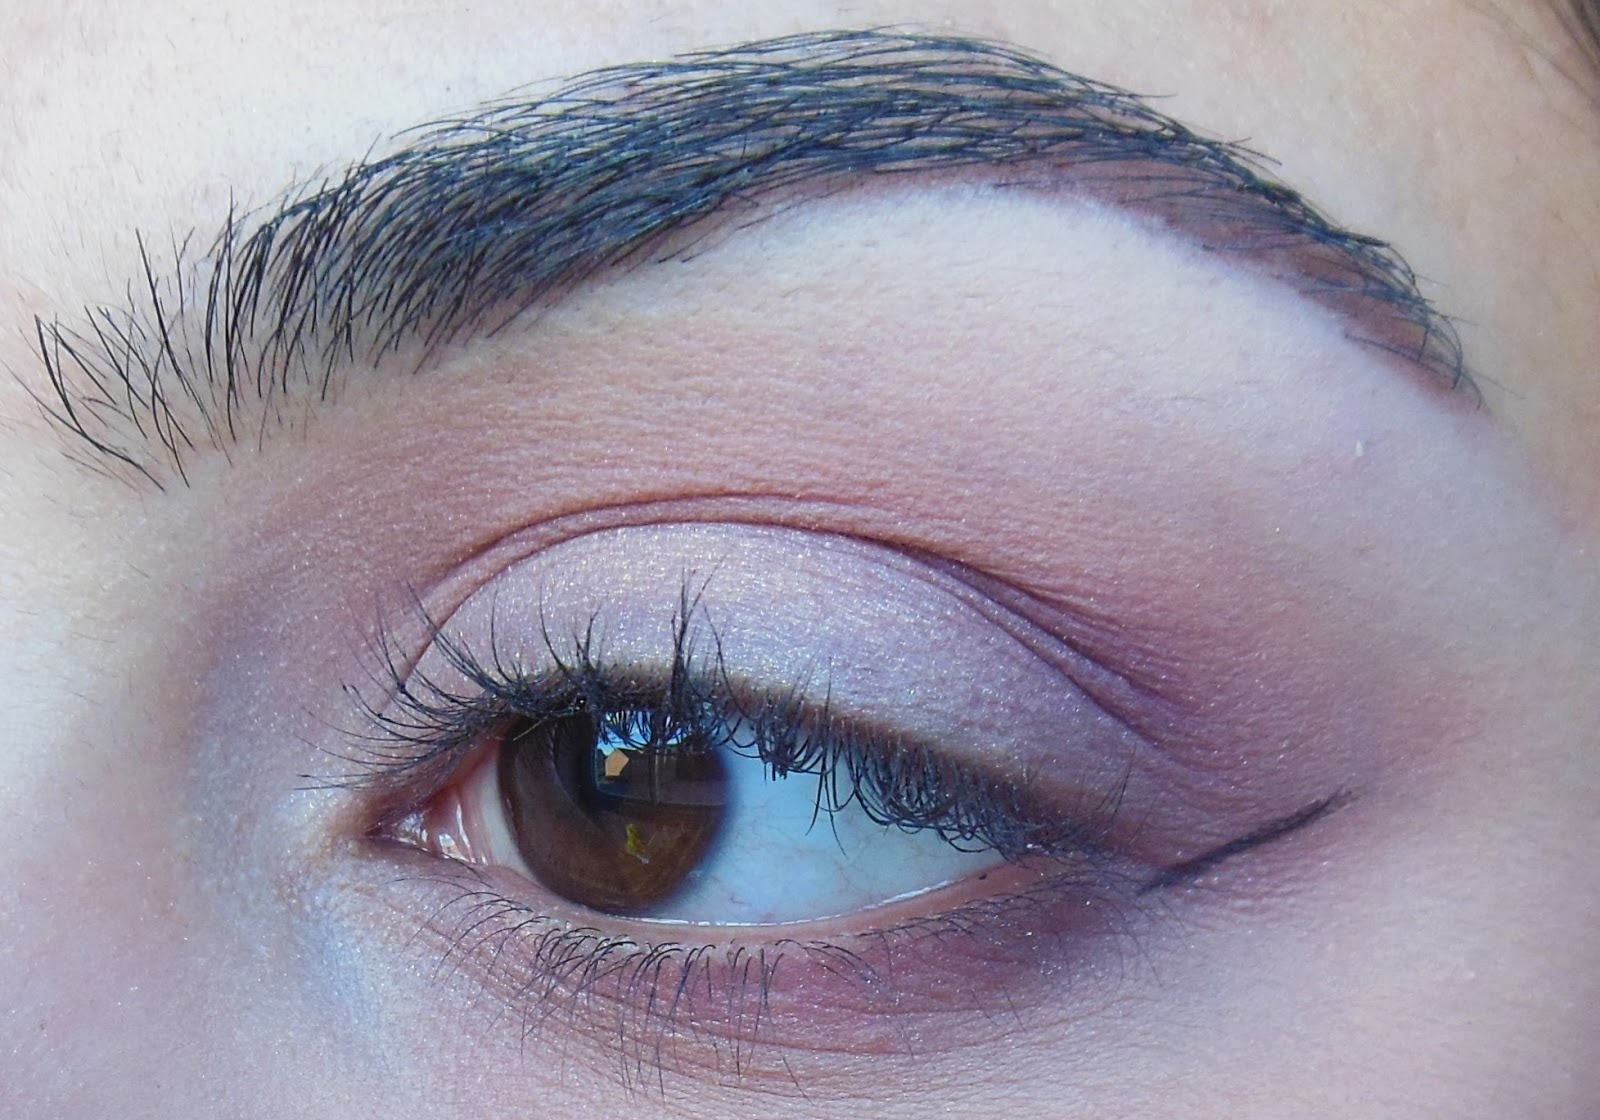
STEP THREE

Now add a bit more gel liner onto your brush and fill in that triangle gap.
STEP FOUR

Next, draw a line from the top of that triangle towards the inner third of your eyelid. Depending on how thick you want your eye liner, you can adjust this line to be either super close to the upper lash line or really high above for a thicker line.
STEP FIVE

Lastly, fill in that gap and then extend the liner to the inner corner of your eye. Typically, the liner closest to the inner corner is thinnest, so then getting thicker towards the wing. BUT it is completely up to you and your eye shape! If your eyes are particularly small, you might want to stop your liner at the middle of your eye lid and not extend it to the inner corner.
Remember to take your time when fixing up! From this point, I thickened up certain areas, applied makeup remover to the jagged areas and used concealer under the wing to clean up. Just be patient and it'll come together!

I hope this post has helped any of you who struggle with winged liner! I'm not gonna lie, winged liner stresses me out so much that I avoid doing it whenever I do my makeup... But practice definitely makes perfect!
xoxo
No comments:
Post a Comment