
I always get messages on my Instagram @fabuleusebeauty asking how I cover my dark circles - if you've seen some of my before and after shots on Insta then you'll know that there's a big transformation when it comes to my eye bags! Of course I list all the products that I use on Instagram makeup posts, but it's hard for you all to understand the techniques that I use, so I'm making this post to explain all my secrets.
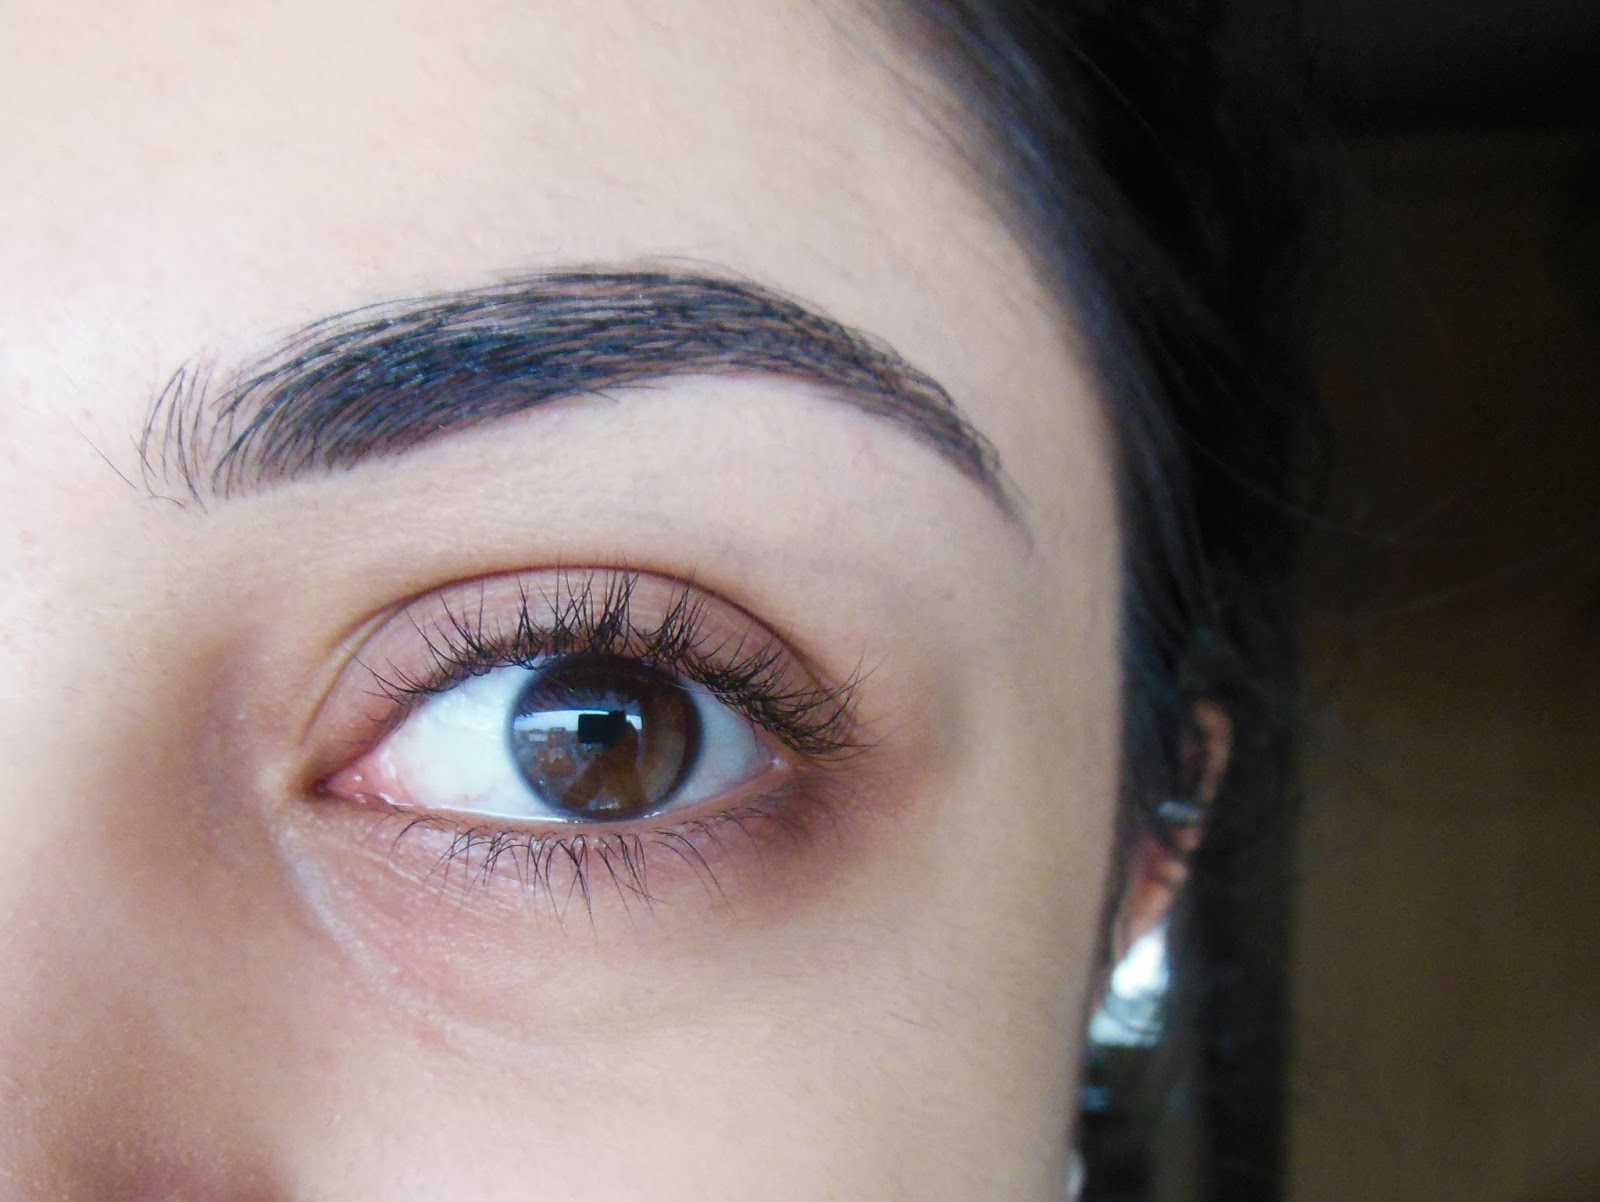
In this picture I just had my brows filled in and a light layer of foundation on my face. I never put foundation under my eyes or on my eye lids because I find that it ends up creating too many layers of makeup under the eyes. I always begin with some eye cream; currently I'm using the Body Shop Vitamin E Eye Cream which creates great hydration. Always apply eye cream first so your concealer glides on easier!
2. CORRECT

I always correct my under eyes no matter what sort of makeup look I'm doing, if I don't then my under eyes can look grey and still pretty dark. The one that I got for my birthday in September and I have used non-stop since then is the Becca Under Eye Corrector. It's a great peach toned corrector so counteracts the darkness under your eyes, but it is super thick and has high coverage so you need a TINY amount. I use my Zoeva Concealer Buffer Brush and I literally dab it into the corrector once - that is enough for both of my eyes!


Most of my darkness is around the inner corner of my eyes, so I apply the product there and then buff it out - don't forget the inner corner of your eye (by your nose and below the start of your eyebrow) because it can get quite dark there too! I don't bother applying it on my eyelid because I don't feel like it's really necessary.
3. CONCEAL

My favourite concealer is 100% the Collection Lasting Perfection Concealer - it has amazing coverage, blends well and is affordable, I buy so many of them. In this tutorial I used shade 03, but when I don't wear foundation I use shade 02.

I don't tend to do what all other youtubers/instagrammers do which is pack on loads of concealer under my eyes because if I do that it feels way too heavy, and also, since I apply corrector I don't need too much concealer. Straight from the wand I apply a swipe on the inner third of the under eye and on the outer corner.


I then take my damp Beauty Blender and blend it all out, going back and forth under my eye. I also take the excess product that is on the beauty blender and bounce it on my inner corner and on my eyelid.
4. SET


Something that I cannot live without when it comes to covering my dark circles is my Laura Mercier Secret Brightening Powder. It keeps your under eyes looking bright all day and is a finely milled powder so it doesn't look cakey. WARNING: it does flashback in pictures, so bright under eyes look fab, but you don't want to put it anywhere else on your face that you don't want to highlight. On my Beauty Blender I take a small amount and press it under my eyes.


I press the powder under my eyes whilst looking up, to avoid setting any creases, whilst also applying the excess powder on my eyelid.
5. WIPE AWAY

So the method that I described above - where you press powder under your eye with a Beauty Blender - is called baking, you've probably seen it all over Instagram and Youtube! I don't like to leave powder under my eyes for too long because it can look really dry afterwards. I'll normally wipe away the powder using my Real Techniques Setting Brush after 30 seconds - 1 minute.


I start from the inner corner and brush the powder away, going in an outwards motion. I also brush off any powder that I applied on my eyelid.
Add some mascara to finish it all off ...

That is how I cover my dark circles! I hope the instructions and pictures were easy to follow, demonstrating this all on You Tube would be so much easier, I am tempted to start You Tube more and more everyday... However, I hope you found the blog post useful and if you have any questions, leave them in the comments below or message me on Instagram or via email. I'll speak to you all in my next post!
xoxo
No comments:
Post a Comment