
Depending on your mood, the weather or the place that you're going to, you may want to adjust the coverage of your liquid foundation and base makeup. Other things like blemishes or skin type can also make you want to change your foundation coverage. For parties I normally like a medium-full coverage finish, whereas for hot summer days I prefer a lightweight coverage.
With the different tools above, you can adjust the coverage of your foundation to your own desire - and I will explain how!
FULL COVERAGE
FLAT FOUNDATION BRUSH


To build a full coverage foundation look, you'll need a flat foundation brush! The flat base allows you to 'paint' on your foundation so that you get a maximum amount of product covering one area. It's best to start applying your foundation in the more problematic areas (redness/blemishes) so that they receive the most product and coverage, and then work the remaining product onto the rest of your face.
The one I have is the MAC 190 brush, which has been through some rough times... But its a great flat foundation brush since its still quite thick, so the foundation will still be buffed seamlessly into the skin. Its also really soft, so great for those who have sensitive skin and don't want to be too rough when applying foundation.
MEDIUM COVERAGE
BUFFING BRUSH


For a medium coverage, a buffing brush is the best one to go for! The more dense the brush, the more coverage you'll get so a really dense buffing brush could even give you a medium-full coverage. The aim is to buff the foundation into the skin, so it looks like part of the skin itself. If you have any problematic areas, you can use the brush to dab the foundation onto these areas to get a high coverage, but then buff over lightly to make it look flawless.
The brush I have is the Real Techniques Buffing Brush, which you can purchase from the Core Collection. I use it for both powder and liquid foundation, and its great at creating a flawless finish. You can easily build up the coverage with this brush, just keep buffing so it doesn't cake up!
LIGHT COVERAGE
STIPPLING BRUSH


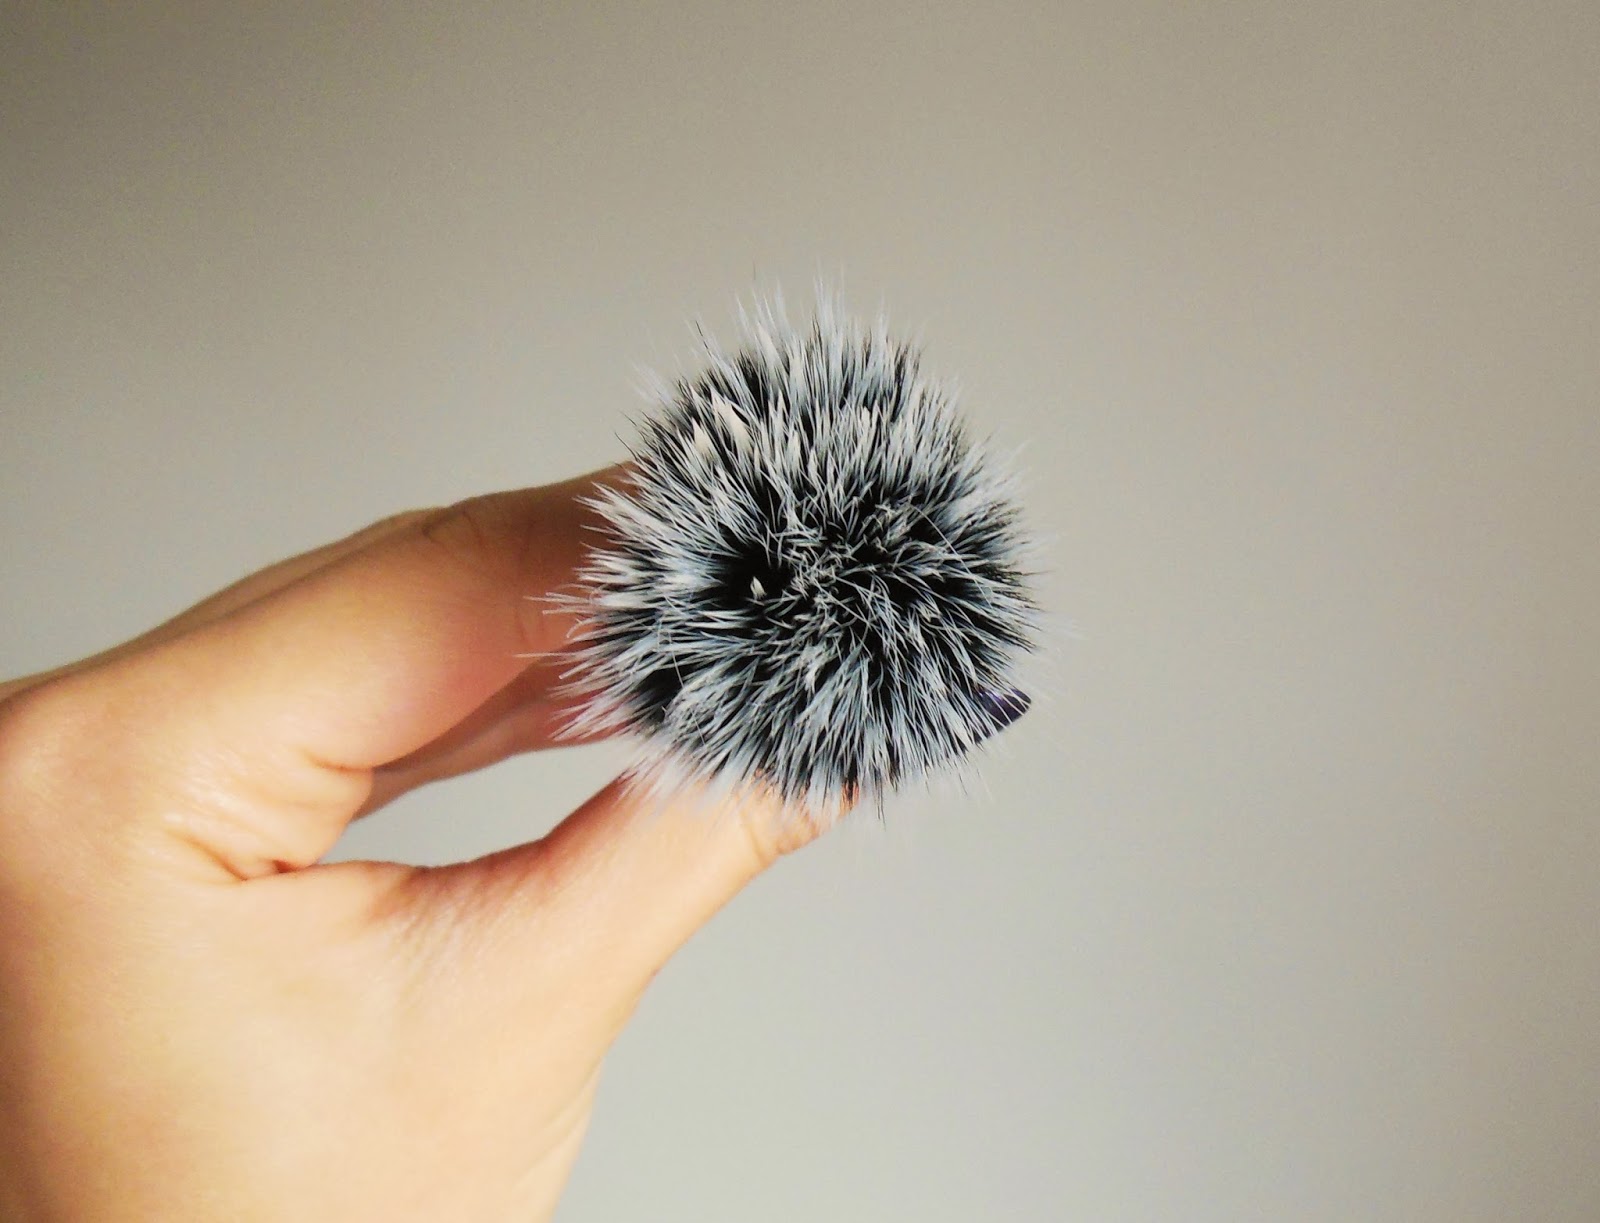
To achieve a light coverage that looks like practically no makeup, a stippling brush is amazing! They're not dense at all and the flimsy arrangement is perfect for applying foundation lightly over the skin. The longer white bristles pick up the product, but when you start to swirl the brush over the skin the shorter black bristles buff in the foundation. I love using this brush when my skin is looking pretty good and I don't want to wear a heavy amount of foundation.
The one I have is the ELF Stipple Brush, super inexpensive and one that I think is pretty good! The brush handle isn't glued that great to be honest, but the bristles themselves are great. When I use it, I make sure my skin is moisturised well and I dot a small amount of foundation all over my face. I can then swirl the brush quickly over my face and its flawless!
FLAWLESS FINISH
THE BEAUTY BLENDER


This tool doesn't help to adjust the coverage of your foundation, but the finish - so I thought I'd include it as an added extra! Soaking and squeezing the sponge under the tap will help to increase its size, so you can then bounce it over your foundation once applied. I ALWAYS go over my foundation with The Beauty Blender, regardless of what brush I've used or what coverage I want, because it takes away any heavy/cakey look. It blends all the foundation together so it looks flawless on the skin - as if it's actually your skin. So if you're struggling to get a flawless finish to your base, maybe invest in The Beauty Blender!
I hope this has helped some of you with any foundation struggles - I think I'll do a couple more of these HOW TO blog posts, so if you have any ideas or recommendations, please leave them in the comments below or on my Instagram!
xoxo
No comments:
Post a Comment